The Best Way To Master Golf Putting
A wise fellow golfer once told me that “driving is for show, putting is for the dough.”
This phrase really resonated with me and over the years, has helped me improve my golf putting skills. Keeping putting at the fore of my game made me a more competitive and successful golfer.
Some players like to show off their ability with huge swings and expensive drivers. But more often than not, players can be successful by just improving their skills on the green.
Here, we cover how you can get better golf putting success including:
- Putting drills
- Practicing efficiently
- Approaching the shot right
- Reading the green
- Understanding putting
Fundamental Golf Putting Tips
What Is Putting?
Putting is a type of golf stroke made with a specific club called a putter. Putters are used on the green, the part of the course where final shots are made and balls reach the hole. Outside of the green, putters have very little application.
One of the very best ways to improve your putting skills (and keep your par scores low) is through putting drills.
Why Do Golf Putting Drills?
When it comes to putting, practice really does make perfect. To improve your finishing shots and overall performance, work on your technique. And as an added bonus, you’ll impress your fellow golfers!
Drills focus on the skills that help golfers improve their consistency, focus, and power when it comes to putting. With enough practice, you’ll see a reduction in the number of shots you need to complete a hole and become a more skilled golfer.
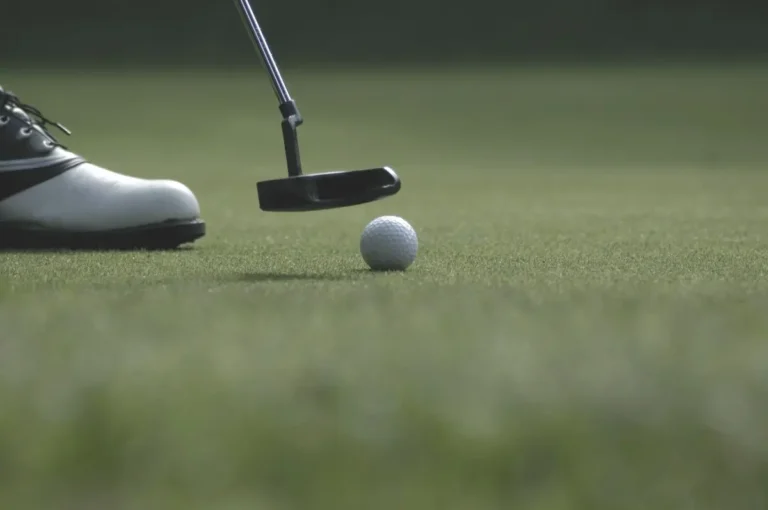
What Is Golf Putting Swing?
The golf putting swing is all about the dominance of the shoulder movement. Your wrists should stay solid. A gentle rock of your shoulders and arms should allow the ball to travel the required distance.
The bottom half of your body should stay completely still. Make sure the weight of your body is completely balanced between both legs. The putter’s head should also remain straight.
You should feel it when you’ve executed a successful putt. But you can also tell from your backswing, which should be the same height as the follow-through.
The putting grip is also important. For the highest chance of success, keep the putter square to your intended line. Keep your forearms parallel to the target, in the direction you want the ball to travel.
With enough golf putting practice, you will develop a consistent level of force and control. If putts are too weak, the ball won’t reach the hole. Too powerful and you run the risk of the ball overshooting. It is all about finding the perfect putting balance.
How Long Does It Take to See Results?
Similarly to driving, the more often putting is practiced, the better your technique becomes. The chief benefit of improving your putting skills is to reduce the number of shots you need to complete a hole. The knock-on effect is a lower handicap.
Many golf experts noted that watching videos of golfers successfully putting is an effective method of visualizing and improving your own golfing skills.
The exact amount of time it takes to significantly improve your golf putting depends on your current skill level. That said, if you practice three or more times a week, you should see results in two months.
How to Keep Your Training Fun
I get it, improving your putting technique is not as glamorous or exciting as making big swings at the driving range.
To keep your training exciting, allocate time to practice with a friend. Set up mini-challenges. For example, try to get your golf balls into the hole from the same distance and see who triumphs.
Several putting practice products can help you improve your technique from the comfort of your own home. Or the office if you can find the time! Here are a few of my favorites:
- JEF World of Golf Hazard Deluxe Putting Mat
- SKLZ Golf Putting Cup Accuracy Trainer
- Putt A Bout Grassroots Par Three Putting Green
Practice Drill Types

Pre-Round Warm-Up
Before teeing off, spending five to ten minutes on the green beforehand is a clever move. You’ll achieve two things. Firstly, you’ll practice your putting technique before it matters. Secondly, you’ll get accustomed to the speed of the greens—extremely helpful if you’re unfamiliar with the course.
Don’t focus too much on long putts. Instead, keep your warm-up centered around close putts to boost your confidence.
Block Practice
Block practice is a putting drill where golfers focus on form and technique over holing putts. A golfer performs block practice drills over and over so the process becomes ingrained in their game. It’s sort of like building muscle memory. This type of drill also helps with fundamentals such as aim and topspin.
Block practice is something you can easily do in the comfort of your own home as there is no need for a target or even a ball. Just practice your swing and grip and go through the motions of putting a ball on the green.
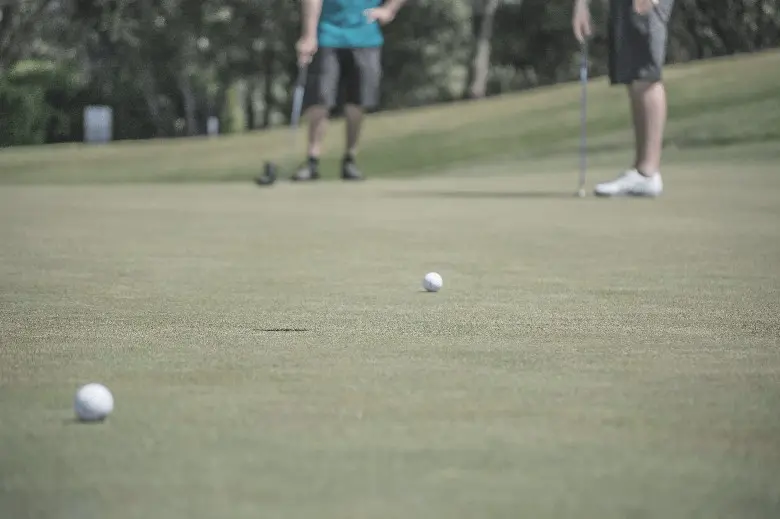
Competitive Practice
Competitive practice helps players focus and adds a competitive feel to the session. To do this drill, just practice as if you’re putting on a green during a game.
Competitive practice often requires a little more green-reading than simple block practice or a pre-round warm-up. It’s a personal favorite practice of mine as it helps to improve putting consistency during a real game.
How to Approach Any Putt
In essence, successful putting is all about confidence. As your putting technique, posture, and skills become second nature, you will become more confident in your abilities. This will mean you’re less scared to putt from long distances or take risks on the green.
Here are some foolproof tips to approach absolutely any putt:
Develop Your Feel for Distance on Short and Long putts
This is something that develops alongside experience. The more golf you play and the more putting practice you do, the better you get at judging distance and the amount of force needed.
Posture and Eyeline
Posture and eyeline are very important. It’s crucial to keep still and steady when putting, even though it’s the most stressful part of a golf round.
Putting posture is something that can be developed with a coach or an experienced fellow golfer. Here are the key things to remember:
- The top of the spine should be parallel to the ground
- Forearms should be in line with each other
- Bend your knees
- Keep a relaxed but firm grip on the putter. Think hands, rather than the arms
Using the Right Putter
It’s easy to blame the equipment you’re using for the inaccuracy of your putting technique. However, in some cases, old or wrongly sized putters can be to blame. If you’re not sure your gear is up to the job, seek help from a golf coach or a more experienced golfer.
Here are some new putters we recommend:
- S7K Standing Puter for Men and Women Golfers
- Pinemeadow Golf Men’s PGX Putter
Don’t Be Too Hard on Yourself
It can be frustrating when you’re not putting well or your friends are more successful. It is important to remember that practice makes perfect and with a little patience and time, your putting will improve. Try to set yourself manageable and achievable targets so you don’t lose motivation.
Keep Your Putting Routine Short
When you are on the green and putting, all that matters is concentration. Focus all your energy on making sure your putting routine is the same as in practice. Make sure you check the angle of the putt, relax your shoulders and arms, then begin. Keeping your putting routine short ensures you don’t overcomplicate things.
Control the Speed of Your Putt
If you want to lower your par scores and handicap, you need to learn how to control the speed of your putts. Control enables you to get the ball closer to home and makes your life easier for the second putt. Through practice and regular putting drills, you’ll become better at controlling speed.
Putting From Inside Six Feet
This a common piece of advice we give to all new putters: Only shoot from the hole from six feet away or less for the best chances. Remember to keep your action smooth by taking the tension out of your wrists and forearms. Being relaxed and confident on the green pays off.
How to Read the Green

Congratulations! You’ve made it to the green, the final part of each hole. Before you start putting, take some time to carefully read the green. Here are my top tips:
Give Yourself an Eye Exam on the Green
When you first look at a given hole’s green, focus on the distance to the hole and the surface of the ground. Then, before putting, make sure your posture is perfect for the best chance of success. Although this process might seem monotonous, all the best golfers all take their time before attempting to putt.
Evaluate your Results
After putting, it’s easy to be disheartened if the ball ends up in an unexpected position. Smart golfers successfully evaluate how a particular putt went and how it could be improved. Self-evaluation is key to the putting process and your future results.
Block out Noise Pollution
Skilled golfers block out all other sounds and distractions when putting and focus solely on the task at hand. This ability is something developed over time, but you can start practicing straight away.
Scanning the Green Horizontally
If you watch the US Open or the Ryder Cup, you’ll see players checking the green horizontally for bumps and inconsistencies. If the green is uneven or presents hazards, the golfer needs to change the ball’s angle or speed. Scanning the area is also an easy way for beginners to look more professional!
Some Putting Drills to Practice
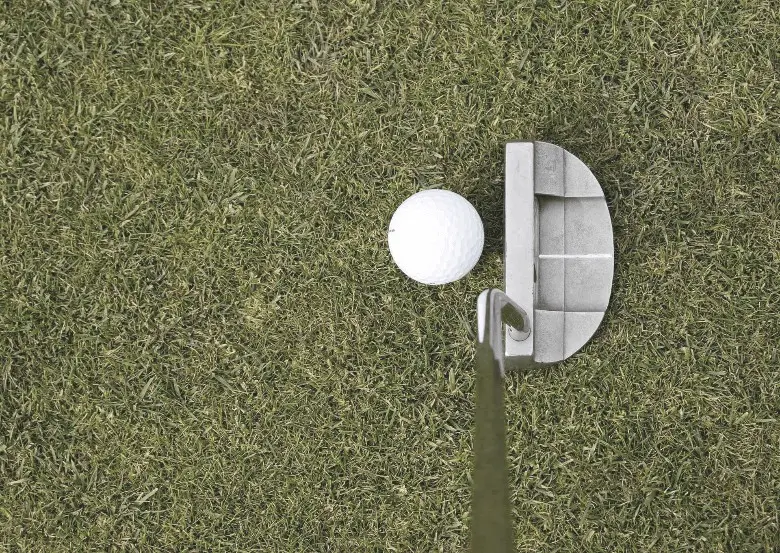
Two-Ball Drill
Helps you check that your putter is perfectly square when hitting balls.
To practice, place two golf balls next to each other and then attempt the putts. Both should move in the same direction. If not, then your technique needs adjustment. This simple drill doesn’t require fancy equipment and can be done at home.
Goldilocks Drill
Helps you ascertain the perfect amount of force needed to get your ball in the hole.
To practice the Goldilocks drill, you need three balls and a clearly defined target about twenty feet away. Hit each ball in turn. Aim to slightly overshoot the target with the first, fall just short with the second, and aim for gold with the third. It should be “just right,” to quote Goldilocks when she tasted the perfect porridge.
This drill allows the putter to understand the distance and force needed for a ball to travel a certain distance.
The 1-2-3 Putting Drill
Useful for developing a golfer’s putting consistency.
For this drill, use three balls and put them in a straight line three, six, and nine feet away from the hole. Start with the ball closest to the hole and then work outward. Try to sink all three balls.
This technique can be practiced before a game and helps you judge the force needed for common putting distances. It also assists with focus and attention to detail.
The Ladder Drill
Helps you improve your long-range putting.
To practice the ladder drill, you need ten tees. Place them in a straight line, three feet from each other and progressing towards the hole. Start by putting the ball three feet away and work your way back to the thirty-foot putt.
This drill is beneficial as you can instantly see how far you can putt from certain distances. Once you have an idea of where you’re at distance-wise, work on the force levels needed to reach further.
Round the Clock
This drill is all about putting five feet from the hole, in any direction.
Imagine a clock face around a hole on the green. If you are unable to use a hole, place a tee in the center of a practice green and encircle it with up to ten balls placed around five feet away. The aim is to sink the ball or hit the tee from each position.
Round the clock is quick and easy to set up, perfect before starting a round. Plus, the practice might save you valuable shots during the game.
The Path Drill
Improves putting alignment. Perfect for wonky putters!
You’ll need a tee, an alignment rod, and a few balls, which you will putt from six feet away. Place your first ball down with the alignment rod guiding the line you want the ball to follow. Make sure you leave a little space between the rod and the ball so you have space for your putt.
The rod’s job is to guide the ball, if need be, and to provide you with a visual representation of your line. This exercise helps you straighten up your putting angles and is excellent for all new golfers. If you don’t have an alignment rod, use two spare golf clubs instead.
Golf Box Putting Drill
The box drill improves your putting accuracy from multiple distances.
Create a box around the hole and give yourself twelve balls. Start from five feet away, then move five feet backwards up to thirty feet from the hole and putt two balls from every distance from the hole. The aim is to keep the ball in the “box”. Repeat the exercise until every ball you hit stays inside. Give yourself extra points if you manage to sink any.
With this drill, you can instantly see how accurate your putting is and how to improve it across varied distances.
Lag Putting Drill
If you are looking to improve your distance control, this drill is for you.
Similarly to the box putting drill above, you need a box around the hole for this exercise. The difference is that this one is completed with just one hand and impaired vision.
The balls need to be five feet from each other, up to thirty feet away from the hole. Using one hand, try and get as many balls as you can into the box with a fellow golfer slightly blocking your view. As with the box drill, you get more points if you manage to sink a ball.
This drill forces you to fully focus on the target while there is an obstacle and builds strength in one hand and arm.
The Meter Stick Drill
This is another very simple drill that can be done from home. If you have an indoor putting green, great, but no worries if you don’t. You can always use a rug for a slightly rough surface that approximates the green.
Place a meter-long stick on the floor next to your ball. The aim of this exercise is to putt the ball, ensuring that the ball does not move away from the ruler for the putt’s duration.
The benefit of this exercise is its ease of set-up in the comfort of your own home and it helps boost your accuracy.
The Foot Up Drill
This drill was made famous by pro golfer Rory Mcllroy, so you know you’re in safe hands!
Stand on the green about six feet away from a hole and putt up to ten shots on one leg. This challenge forces you to focus to remain stable so that you can find a more solid and consistent putt. Can you sink the ball even when you’re off-balance?
Tiger’s Gate Putting Drill
Made famous by Tiger Woods, the man himself is often seen practicing this exercise on the green pre-game.
For this drill, you need to place two tees either side of the putter’s head. This forces you to hit the ball in a straight motion so that you hit the ball, rather than either of the tees. Tiger often starts this drill by standing on one leg to improve his focus before a tournament, but this is not necessary for beginners.
20 Putts From Three Feet
As the name suggests, putt 20 balls from three feet away from the hole.
Most semi-skilled golfers are expected to sink all the balls they putt from three feet away. So, by making sure that you can putt this distance easily, you’ll greatly improve your short game.
This is a foolproof putting drill that is very quick and can act as a good confidence boost before starting a game.
3, 6, 9 Foot Drills
This drill is perfect to give yourself a bit of pressure when you have time to practice your putting.
Place three tees in the ground at three, six, and nine feet from the hole. To “win,” you have to successfully putt three balls from three feet, three from six feet and so on.
Give yourself half an hour to complete this drill. But, if you miss any of the putts, you have to go back to the beginning. You must putt all nine putts in order to successfully complete the challenge within the time frame.
This drill is excellent if you want to simulate a game-like scenario. You can also record your improvements by logging how long it takes to putt all nine balls the first time you play. Then, compare this to the next time you complete the drill. It’s a useful method to track your putting progress over a longer period of time.
LeapFrog
Not to be confused with the children’s playground game, this drill is all about improving your putting pace control.
Place three tees down about three feet away from each other in a straight line and give yourself three balls. You are aiming to putt your first ball just beyond the first tee. Following this, aim to get your second ball just beyond your first. Finally, your third ball needs to travel farther than your two other balls but still stay within the defined range you have marked out with tees.
The name of this drill is indicative of its golfing purpose. You’re aiming to place each of the balls slightly in front of the previous balls you’ve hit. Consistent practice of the LeapFrog drill offers you speed and distance control within a defined range.
Conclusion
Many beginners think that driving is the most important aspect of their game and spend many hours on a Sunday afternoon at the range. But, smart golfers know that they can quickly improve their performance but putting effort into their gold putting abilities.
In fact, putting can make the greatest difference between a good golfer and an excellent golfer. Hopefully, armed with our tips and drills, your putting skills will improve in no time at all.
So… What are you waiting for? Happy putting!